Rivers with Wilbur
Version 1.66 of Wilbur provides the ability to compute basic riverine images. These are very simple computations and do not find lakes or seas.
1) Get a terrain into Wilbur
Any terrain will work, but for best results it should approximate hydrology (that is, rivers should have a place to flow). To make things quick we’ll just generate one here.
1a) Filter>>Noise>>Fractal Noise
Makes a basic wiggly terrain.
1b) Filter>>Fill>>Fill Basins
Makes it all connected hydrologically (fills all of the holes). Because there are big holes, channels make big straight lines and that’s ugly.

1c) Filter>>Noise>>Percentage Noise
Makes the channels wiggle.

1d) Filter>>Noise>>Fill Basins (again)
Reconnects all of the little holes caused by the above noise add into complete channel systems:
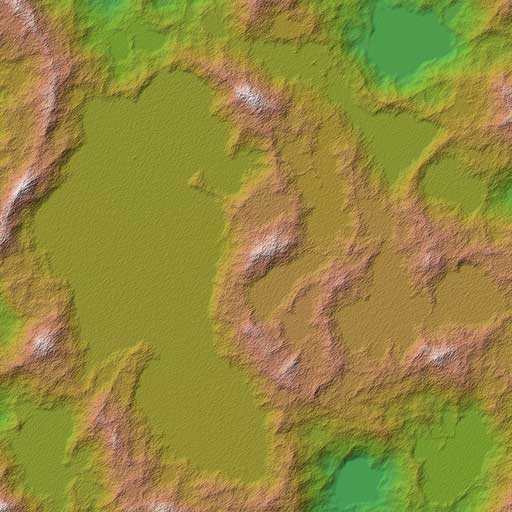
1e) Results:
Note that you can use the Filter>>Erosion>>Incise Flow operation to cut the river channels down into the terrain, but you’ll want to fill basins again after that operation. Because we’re just demonstrating finding rivers as a pretty picture we’re not going to erode the terrain.
2) Start the river image
Texture>>Other Maps>>River Flow (note that there will be a bit of a delay as the system finds the initial flow pattern – the code hasn’t locked up, it’s just thinking).
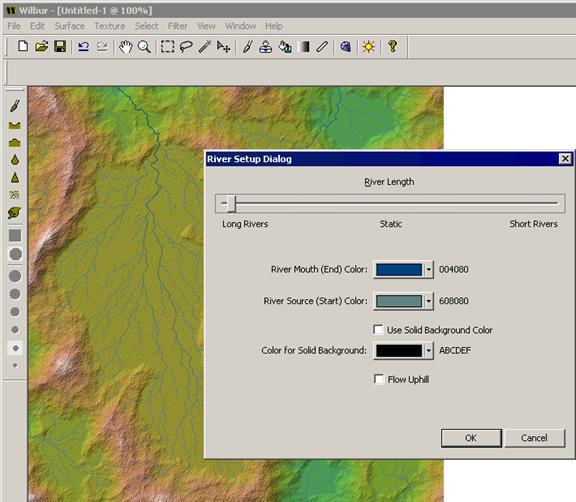
Play with the River Length slider and colors to find a combination that you like. You can also set a solid background if you don’t want the shaded background.
3) Finish the river image
Click OK on the river setup dialog. The image is in memory but will be destroyed by Undo or surface editing so I would suggest saving the file.
